Taking care of little dents and dings on your ride is important to keep it looking sharp and worth more money down the line. Even small damage, if ignored, could lead to bigger problems. Nipping small dents in the bud prevents costly repairs later on.
Doing dent fixes yourself is a smart way to save cash compared to paying a shop. DIY methods are easy enough for anyone to handle at home in their free time.
It lets you spruce up your car without breaking the bank in labor fees.
Fixing minor dents right away keeps your vehicle’s appearance and value protected over the long haul. DIY is a handy, low-cost solution to restore that new car look without all the added shop bills.
Taking good care of your ride pays off in how it drives, looks, and holds its worth for you.
Tools and Materials You’ll Need
Most of what you need for DIY dent fixes around the house like basic tools from the hardware store.
Some common supplies:
- A hair dryer and compressed air – Great combo for plastic dents
- Plunger – Makes suction to pull out small dings
- Hot water and gloves – Softens plastic bumpers before fixing
- Dry ice – Can shrink metal panels to pop dents out
- Hot glue gun and dowels – Make handles to pull on bigger dents
- Vacuum – Believe it or not, this can help “suck” out dents too
Safety first when using stuff like dry ice or hot glue. Always wear gloves with dry ice to prevent burns. Be careful with hot glue and don’t hurt yourself.
Taking simple precautions lets you fix dings on your own without wrecking your car or yourself in the process. Doing it safely helps your DIY dent repairs go smooth as silk for a better-looking ride.
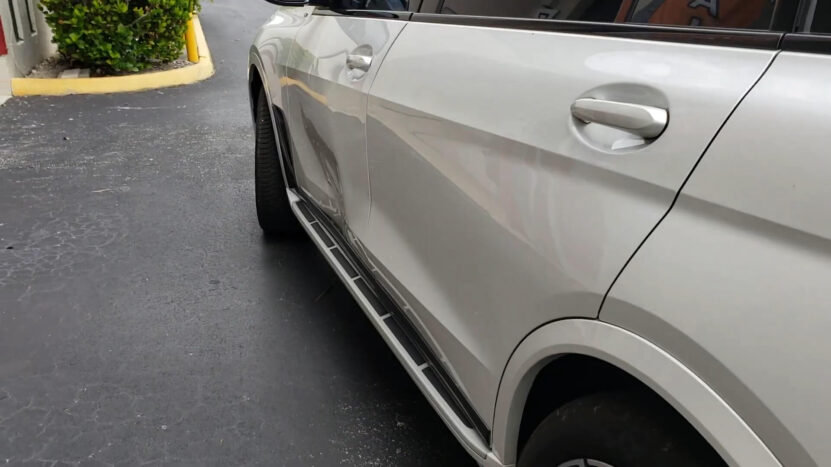
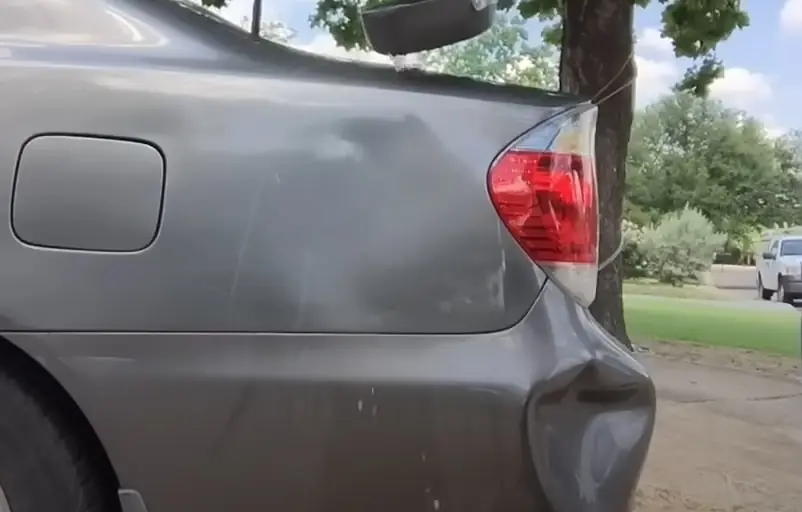
Assessing the Dent
Before diving in, carefully check out the ding. Look at the size, how deep it is, and where it’s at.
Dents under 3 inches wide on flat, even parts of your ride usually work best for DIY fixes. Bumps on curves or edges may need a pro.
Depth matters too. Shallow dings often come out with plungers or hair dryers. Deeper ones may need special tools like hot glue and dowels.
Also, check if it’s in plastic or metal. Some methods are better for one material over the other.
Taking your time to properly examine the ding helps pick the right repair method. That ups your chances of successfully sprucing up your BMW’s look yourself. Careful inspection is key before starting any fixes.
In case you need professional help with taking care of dents, Bumper Buddies might be the way to go.
Step-by-Step Methods for Fixing Dents
Now let us address several methods you can utilize to fix the dents.
Method 1: Using a Plunger
A plunger is a great tool for little dings on plastic or metal. To start, dampen the dented area and the plunger itself.
Gently set the plunger over the ding. Then press down firmly so it sucks onto the dent.
Pull the plunger back out, and with any luck the ding will come right along with it! This easy method works well for minor dents from light bumps.
Just wetting everything down first lets the plunger “stick” and “unstick” the dent with suction power.
Method 2: Hair Dryer and Compressed Air
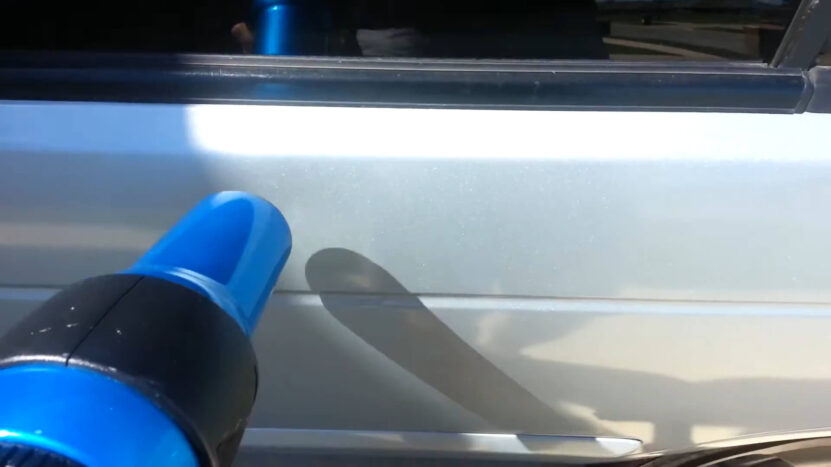
Hair dryer and compressed air works great on plastic parts like bumpers. Take a hair dryer and gently heat the ding for about 30 seconds.
While it’s still warm, spray some compressed air on it real quick. The cold air will make the plastic shrink up, pulling the dent right out!
Be sure to heat it evenly without getting the dryer too close or you could damage the paint. Just warm it up then whoosh – the ding pops out thanks to how plastics contract when cooled fast.
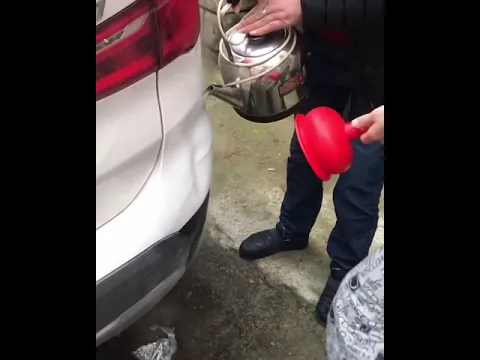
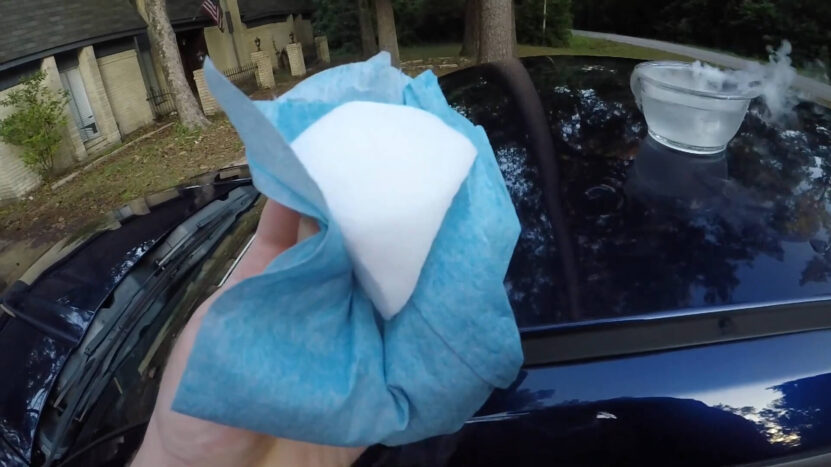
Method 3: Boiling Water for Plastic Bumpers
For plastic bumper dents, boiling water is your friend.
Carefully pour the just-boiled water over the ding area. This softens up the plastic bumper material.
Then reach behind and gently push the dent out from the backside while it’s still warm and pliable.
Be sure to wear gloves handling hot water – we don’t want any steam burns ruining your DIY fun! Let the heat do the work so you can smooth out bumper bumps with ease.
Method 4: Dry Ice for Metal Panels
Dry ice is great for popping out dings on metal.
Rub some over the ding while wearing gloves, dry ice gets really cold so protect your hands.
As it touches the metal, the rapid temperature drop will make the dent shrink up tight. Just rub it in circles and you may see the ding magically disappear before your eyes!
The extreme cold tricks the metal into thinking it needs to contract, pulling the dent right out. It’s a cool trick that’s perfect for fixing fenders or door dings.
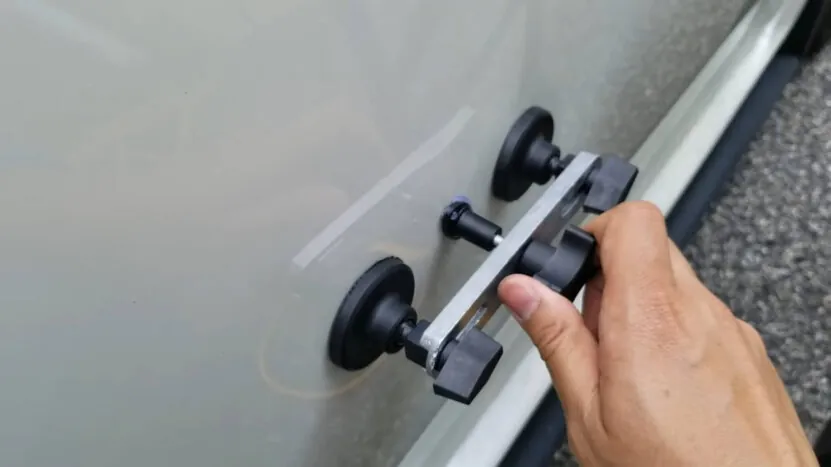
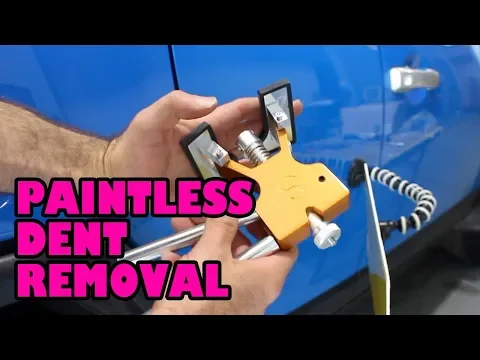
Method 5: Hot Glue and Wooden Dowels
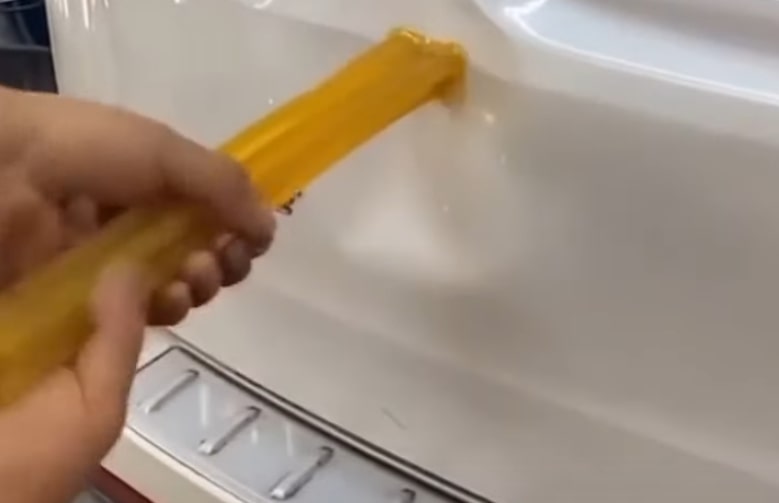
Bigger dings need a little more oomph to fix. Take a wooden dowel and smear some hot glue on one end. Stick that glue-end right into the center of the dent.
Let the glue cool fully before carefully pulling on the dowel. For really big dents, use a few dowels glued around the edge to distribute the force evenly as you pull.
The glue gives you something to grab onto so you can gently tug the dent back out to shape. It’s a handy way to remove dings that are too large for plungers or suction cups alone.
Method 6: Vacuum Cleaner Suction
Cut a hole in the lid of a bucket the same size as your vacuum hose nozzle. Then slide the bucket over the ding with the hole fitting over top.
Turn on the vacuum and watch the magic – the suction will try to “suck” that ding right out! Now who knew a vacuum could double as a dent puller?
Now I know it sounds a little kooky. But this off-the-wall method has worked for some people on shallow bumps. Might as well give it a whirl if you’ve got nothing to lose.
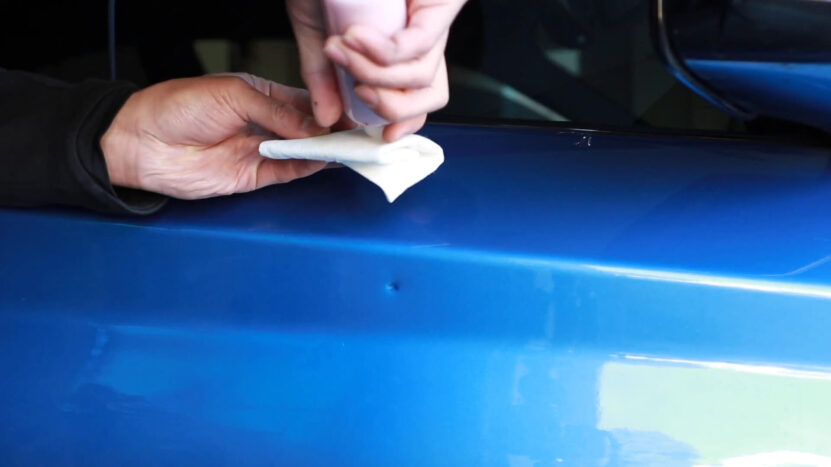
Tips for Avoiding Damage to the Paint
When fixing dings yourself, go slow and be gentle. Most methods involve some pulling or pushing, which can scratch or chip the paint if you’re not careful.
Make sure areas are clean before using plungers or vacuum suction so no grit scratches the paint. And don’t get too close or linger with heat from hair dryers or boiling water – you don’t want burns!
If the paint is already damaged, avoid heat or glue which could make it worse. A pro paintless dent fix may be better then.
Take your time, clean the area first and work in small steps. That protects the finish while you’re fixing dings.
With some TLC, you can restore dents without wrecking the paint job. Just ease into it and go slow, no need to rush the job and risk new damage.
When to Seek Professional Help
DIY dent fixes work great on small to medium bumps usually. But some dings just need a pro’s touch. Curved spots or ones by seams can be too tricky to fix at home.
Big dents or ones with paint damage also do better with a shop. Paintless dent repair (PDR) lets dent techs remove dings without messing up the paint – perfect when DIY won’t cut it.
Cost is key when choosing a DIY or a pro. Doing it yourself keeps the cash in your pocket. But pro-PDR runs $100-$500 depending on how big and where the ding is.
Think about the money versus messing up your ride more by trying a tough spot yourself. Comparing those factors helps you decide the smart way to restore your BMW’s good looks.
A pro’s skills are worth it sometimes to avoid paint issues or making the dent worse.
The Bottom Line
Doing dent fixes yourself is a smart way to handle little bumps on a budget. As long as you take your time choosing the right tools and techniques for each ding, DIY repairs can save you from big auto shop bills.
Be sure to really examine each dent closely first. Look at how big it is, where it’s located, and what it’s dinged in – plastic or metal. That helps pick the method with the best chance of success.
Trying these easy dent tricks is well worth a shot before paying a pro. With some careful effort, you can keep your BMW looking sharp without spending a fortune. DIY is definitely the thrifty choice for minor dents that just need a little TLC.
Once you finish repairing the damage to your car, it’s advisable to protect the paint with detailing services.